Using Particle Wallet within a web application
Particle Wallet for Web
Particle Wallet is a customizable embedded interface allowing users to interact with EOAs (Externally Owned Accounts) or smart accounts natively within a React or Vue application. Native to Particle Network's Smart Wallet-as-a-Service and BTC Connect SDKs, Particle Wallet acts as the central mechanism driving UI-based wallet interaction within Particle Network's tech stack. Particle Wallet can wrap accounts from any existing wallet, or from various smart account instances.
For web applications leveraging Particle Auth, Particle Connect, or BTC Connect, Particle Wallet is automatically included and will be used as the default embedded wallet interface. Otherwise, for isolated usage of Particle Wallet, @particle-network/wallet handles the low-level implementation of Particle Wallet.
This document will cover the process of initializing @particle-network/wallet and creating an embedded wallet instance using an EIP-1193 provider.
Demo
To view a demo application implementing
@particle-network/walletwithin a basic React template (alongside@particle-network/auth-core), take a look at the low-level Auth Core example repository.
Getting Started
@particle-network/wallet is a low-level library for adding an instance of Particle Wallet to the frontend of your web application, acting as an interface to an account derived from an existing EIP-1193 provider object. This integration is most commonly materialized through an embedded modal popup in the corner of your application, as shown in the interactive demo below:
Alternative Entry
Notably, Particle Wallet can also be used directly through its web implementation: https://wallet.particle.network.
This interface is customizable through path parameters. Styling changes can be previewed here.
Installation
Implementing an instance of Particle Wallet within your application through @particle-network/wallet will primarily involve the following steps:
- Installing the library.
- Configuration and initialization.
- Wallet target definition (setting the associated provider).
- Enabling the wallet entry modal (the button in the top corner of your dApp's UI).
To start, we'll need to install @particle-network/wallet, as shown in the example below:
yarn add @particle-network/wallet

# OR

npm install @particle-network/wallet
Setting up the Particle dashboard
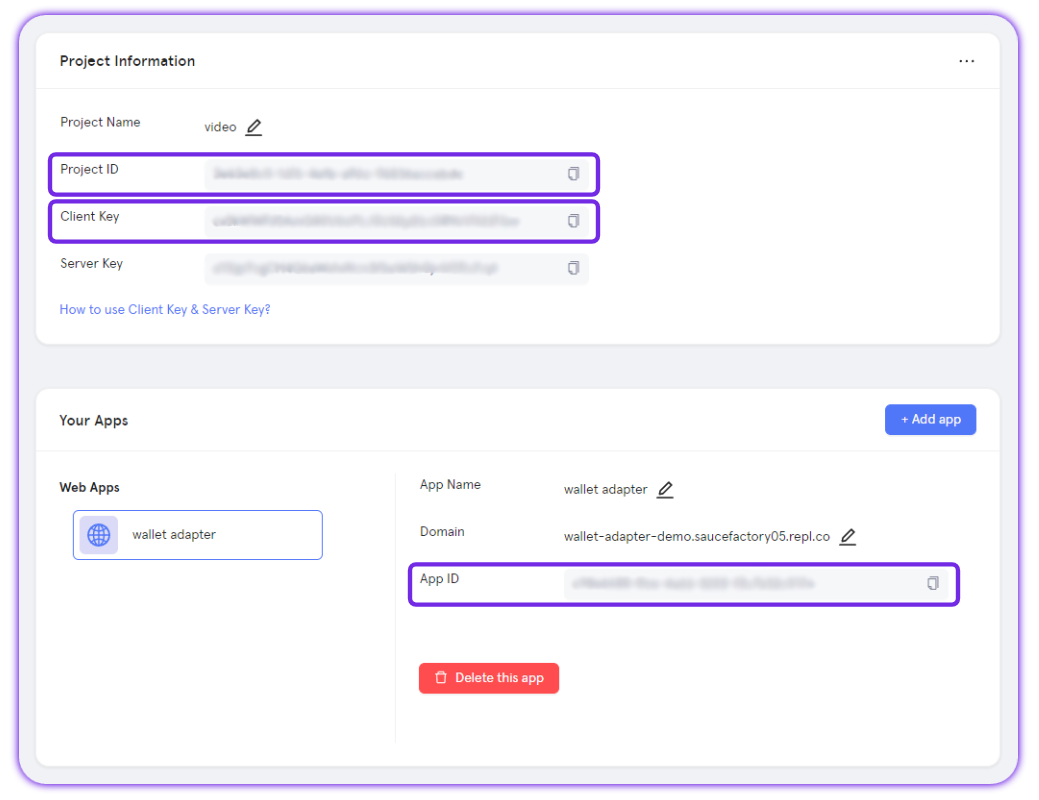
Initializing Particle Wallet will require three key values, these will be your projectId, clientKey, and appId. All of Particle Network's SDKs require these values for API authentication, and thus they're easily accessible through the Particle dashboard. To configure your dashboard and therefore retrieve these values, do the following:
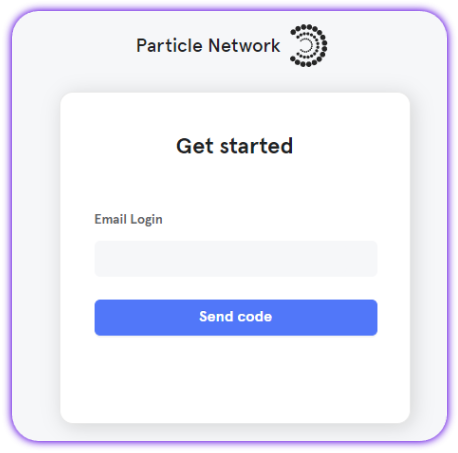
- Sign up/log in to the Particle dashboard

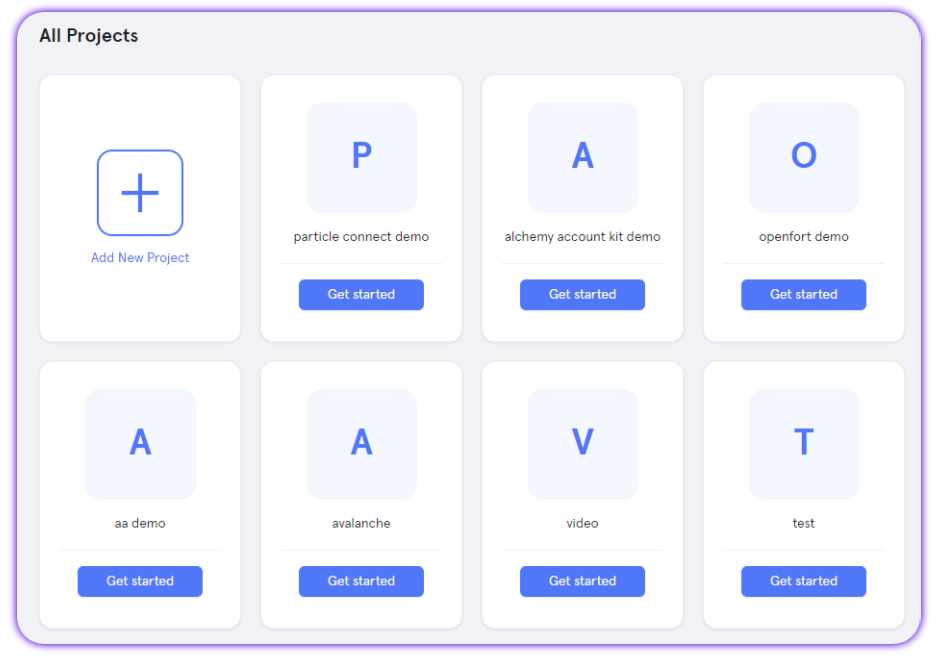
- Create a new project or enter an existing project if you already have one.

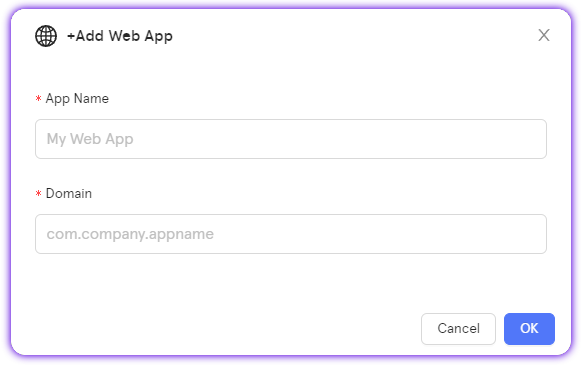
- Create a new web application, or skip this step if you already have one.

- Retrieve the project ID (
projectId), the client key (clientKey), and the application ID (appId).

Initialization
Once @particle-network/wallet is installed and you've retrieved your projectId, clientKey, and appId values, you're ready to initialize Particle Wallet.
Both initialization and implementation will be handled by walletEntryPlugin, an object that can be imported from @particle-network/wallet. To initialize walletEntryPlugin, you'll need to call the init method within the file where you intend to use Particle Wallet.
walletEntryPlugin.init takes the following parameters:
projectId,clientKey, andappId, previously retrieved from your project created through the Particle dashboard.- Optionally,
erc4337if you're using a supported smart account, including Biconomy V1 and V2, Light Account, SimpleAccount, and CyberAccount (CyberConnect).erc4337takes:name, the name of the smart account implementation you're using, such asSIMPLE,LIGHT,BICONOMY, etc.
- Optionally,
visible, which takes a Boolean indicating whether or not the wallet entry modal is shown. - Optionally,
preload, a Boolean determining if the wallet should be preloaded upon application entry. - Optionally,
entryPosition, to specify at what position the wallet entry modal will appear (the button opening the embedded wallet interface). Specifically, this refers to what corner of the screen it'll appear. This takes anEntryPositionobject, which can be imported from@particle-network/walletand specified throughEntryPosition.BR(bottom right),EntryPosition.TL(top left), etc. - Optionally,
themeType, which should be either'light'or'dark'indicating the color theme of the wallet modal. - Optionally,
language, a string specifying an alternative language for the modal (English being the default). - Optionally,
topMenuType, to change the button in the top left of the embedded wallet modal to either close the interface, or open it in fullscreen. This should either be'close'or'fullscreen'. - Optionally,
customStyle, for deeply customizing the styling (coloring, border weight, etc.) of the wallet modal. For more information on this, take a look at Customizing Particle Wallet.
An example of initializing walletEntryPlugin has been included below.
import { walletEntryPlugin, EntryPosition} from '@particle-network/wallet'

walletEntryPlugin.init({
    projectId: process.env.REACT_APP_PROJECT_ID!,
    clientKey: process.env.REACT_APP_CLIENT_KEY!,
    appId: process.env.REACT_APP_APP_ID!,
  }, {
    erc4337: { // Optional
      name: "SIMPLE", // SIMPLE, LIGHT, BICONOMY, or CYBERCONNECT
      version: "1.0.0"
    },
    visible: true, // Optional
    preload: true, // Optional
    entryPosition: EntryPosition.BR, // Optional
    topMenuType: 'close' // Optional
    // And so on.
});
Assigning a provider (account)
To define the account that will be reflected within the embedded wallet interface, you'll need to call setWalletCore on walletEntryPlugin, specifying an associated EIP-1193 provider, which can either be from social logins with Particle Auth, or traditional wallets, such as MetaMask.
setWalletCore should be called before placing/initiating the wallet entry modal.
@particle-network/walletis compatible with both EVM-compatible blockchains and Solana.Throughout this document,
providerrefers to either an EIP-1193 provider object for EVM-compatible chains, or a Solana provider object.
Thus, to define the provider you'll be using, and therefore the account reflected within the modal, you'll need to call walletEntryPlugin.setWalletCore with the following parameters:
- Either:
ethereum, a standard Ethereum provider object (such as anIEthereumProviderinterface, orwindow.ethereum).solana, a Solana provider object (such aswindow.phantom.solana).
E.g.:
// Ethereum
walletEntryPlugin.setWalletCore({
      ethereum: window.ethereum, // Any EIP-1193 provider
});

// Solana
walletEntryPlugin.setWalletCore({
      ethereum: window.phantom.solana, // Any EIP-1193 provider
});
Opening the wallet modal
At this point, you should have a configured and initialized instance of walletEntryPlugin with a provider (account) assigned. To open the embedded wallet modal (or initiate the wallet entry modal), you have 3 options:
walletEntryCreate, a method onwalletEntryPluginthat will display the wallet entry modal (a button in the corner of your application, as you optionally defined throughentryPosition). This should be called after the provider is set throughsetWalletCore.openWallet, an alternative towalletEntryCreatethat directly opens the wallet modal in fullscreen upon calling. This takes various additional parameters, which you can learn more about at Customizing Particle Wallet.- Finally, `
getWalletUrlcan be called to retrieve an associated URL for the wallet modal, which could instead be opened in an iframe rather than directly through the library as the former two options do.
walletEntryCreate will provide the most out-of-the-box experience, with the latter two requiring custom handling.
Examples of all three approaches can be found below:
// After setWalletCore is called....

// Wallet entry modal (button on top of your UI)
walletEntryPlugin.walletEntryCreate();
walletEntryPlugin.walletEntryDestroy();

// Open the wallet directly (ideally assigned to a button or event)
walletEntryPlugin.openWallet({
  windowSize: 'large', // Optional
  topMenuType: 'close' // Optional
  // And so on.
});

// Retrieve the wallet URL (often used within an iframe)
walletEntryPlugin.getWalletUrl(WalletConfig);
const iframe = document.createElement("iframe");
iframe.src = url;
Master reference
For a direct, raw view into every method provided through walletEntryPlugin, below is a table containing every relevant one, along with specific parameters and a short description. For methods listed that weren't covered in the above examples, live implementation often mimics the common structure covered throughout this document.
| Class | Methods | Parameters |
|---|---|---|
| WalletEntryPlugin | constructor | N/A |
| WalletEntryPlugin | init | projectConfig: ProjectConfig, options?: WalletOption |
| WalletEntryPlugin | setWalletCore | walletCore: WalletCore, customEventHandler?: CustomEventHandler |
| WalletEntryPlugin | walletEntryCreate | N/A |
| WalletEntryPlugin | walletEntryDestroy | N/A |
| WalletEntryPlugin | getWalletUrl | options?: WalletConfig |
| WalletEntryPlugin | openWallet | params?: { windowSize?: 'large' | 'small'; pathName?: string; query?: { [key: string]: any; }; topMenuType?: 'close' | 'fullscreen'; } |
| WalletEntryPlugin | setWalletIcon | N/A |
